.
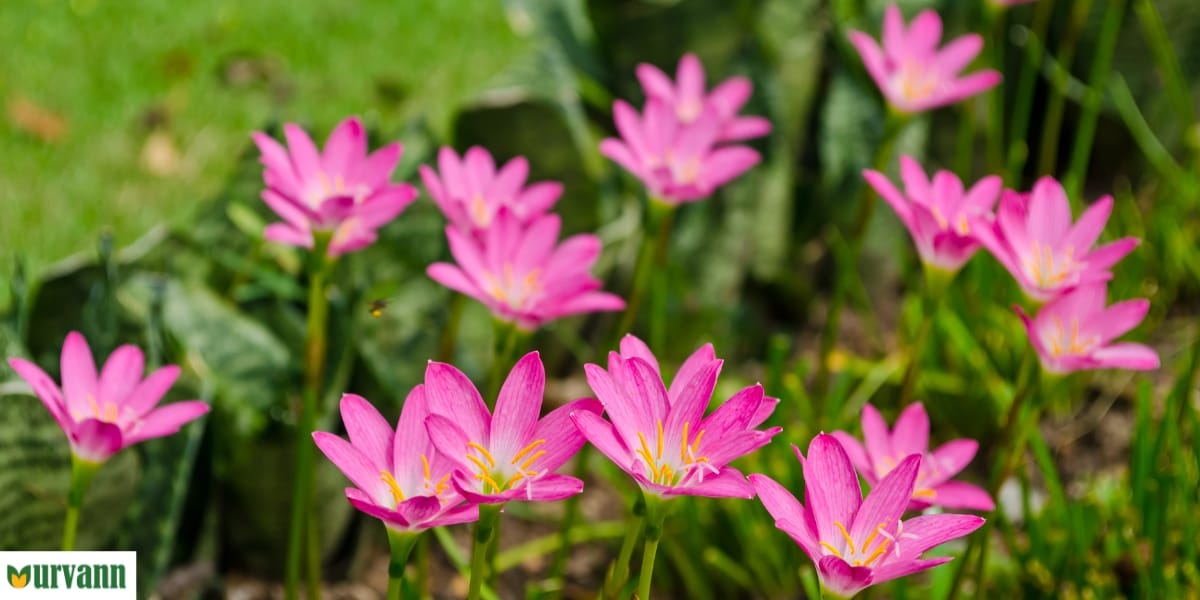
Rain Lilies, also known as Zephyranthus, are the superstars of the monsoon flowering season in India. The little flowers burst into bloom just as the first drops of monsoon rain caress the earth, earning them their charming name. The plant displays prolific blooming at once, filling your garden with colourful blooms. In this blog, let us dive deep into growing and maintaining this gorgeous flowering plant for your home garden.
Understanding Rain Lilies
Rain lilies are miniature bulbous seasonal flowering plants that come in shades of pink, magenta, white, yellow, and rarely even red. They are native to the Americas but are now grown widely in the Indian subtropical due to the favourable weather conditions for the plant. The star-shaped blooms appear just after the season receives its first rainfall. It is almost like magic when the tiny plants sprout up, making them a lovely surprise for gardeners.
Choosing the Right Pot
Rain lilies grow quickly in a pot or a planter as they do not have a large growing habit. Opt for a pot at least 8 inches wide and 10 inches deep to give enough room for the bulbs to develop. Ensure that the planter has adequate drainage holes to prevent them from accumulating water, making the roots unable to breathe. Terracotta, cement or even ceramic pots are excellent for planting this gorgeous flowering plant.
Selecting the Ideal Soil
Be careful when selecting the right soil for your rain lily plant. Since the plant blooms during the rainy season, the soil must be well-draining to accommodate the sudden showers of the monsoon. You can use garden soil and add cocopeat and perlite to make way for water to seep out at the bottom of the planter. This will ensure root health and keep your plant flowering long.
Planting Rain Lily Bulbs
If you wish to start by sowing rain lily plant bulbs, do so right before the onset of the monsoon season. This will allow the bulbs to establish themselves and grow rapidly when the rain comes.
Sow the bulbs 1-2 inches deep, with the pointy end facing upwards, and cover with a layer of soil. Sprinkle water from a watering can to prevent the plant bulbs from tumbling, and firm the soil using your fingers.
Watering and Fertilizing
Rain lilies are charming flowering plants whose blooms emerge between their grass-like foliage. The plants need to be regularly watered and kept moist so that the plant's foliage can survive during the off-season, giving way to prolific blooming when the monsoons arrive. Water when the top inch of the soil feels dry, ensuring the soil remains moist but not soggy. Reduce watering during the rainy season. Fertilising rain lilies can encourage healthy growth and vibrant blooms. Use a balanced, water-soluble fertiliser every 4-6 weeks during the growing season.
Providing Adequate Light
Rain lilies thrive in full sunlight to partial shade. Place your pots where the plants receive at least 4-6 hours of direct sunlight daily. Some afternoon shade can help protect the plants from intense heat if you live in a particularly hot climate.
Managing Pests and Diseases
Rain lilies are relatively low-maintenance and resistant to most pests and diseases. However, they can occasionally be infected by aphids, spider mites, or fungal infections. Inspect your plants regularly for any trouble, such as discoloured leaves or unusual spots. To manage pests, you can use neem oil, which is effective and safe for plants. For fungal issues, ensure good air circulation around the plants and avoid overhead watering.
Enjoying Your Rain Lilies
Rain lilies are not only beautiful but also rewarding to grow. Their ability to thrive in pots makes them a super-cute addition to any garden or indoor space. You can enjoy their stunning blooms year after year with the proper care and attention.
Whether you are a beginner gardener or an experienced plant enthusiast, rain lilies are a delightful choice for adding colour and charm to your home.
Follow these tips, and you'll be well on your way to growing these stunning flowers in pots, creating a beautiful and vibrant display.
Happy gardening!
Pip-Pip!


